1964 Cheltenham Puku 4 Restoration Part One
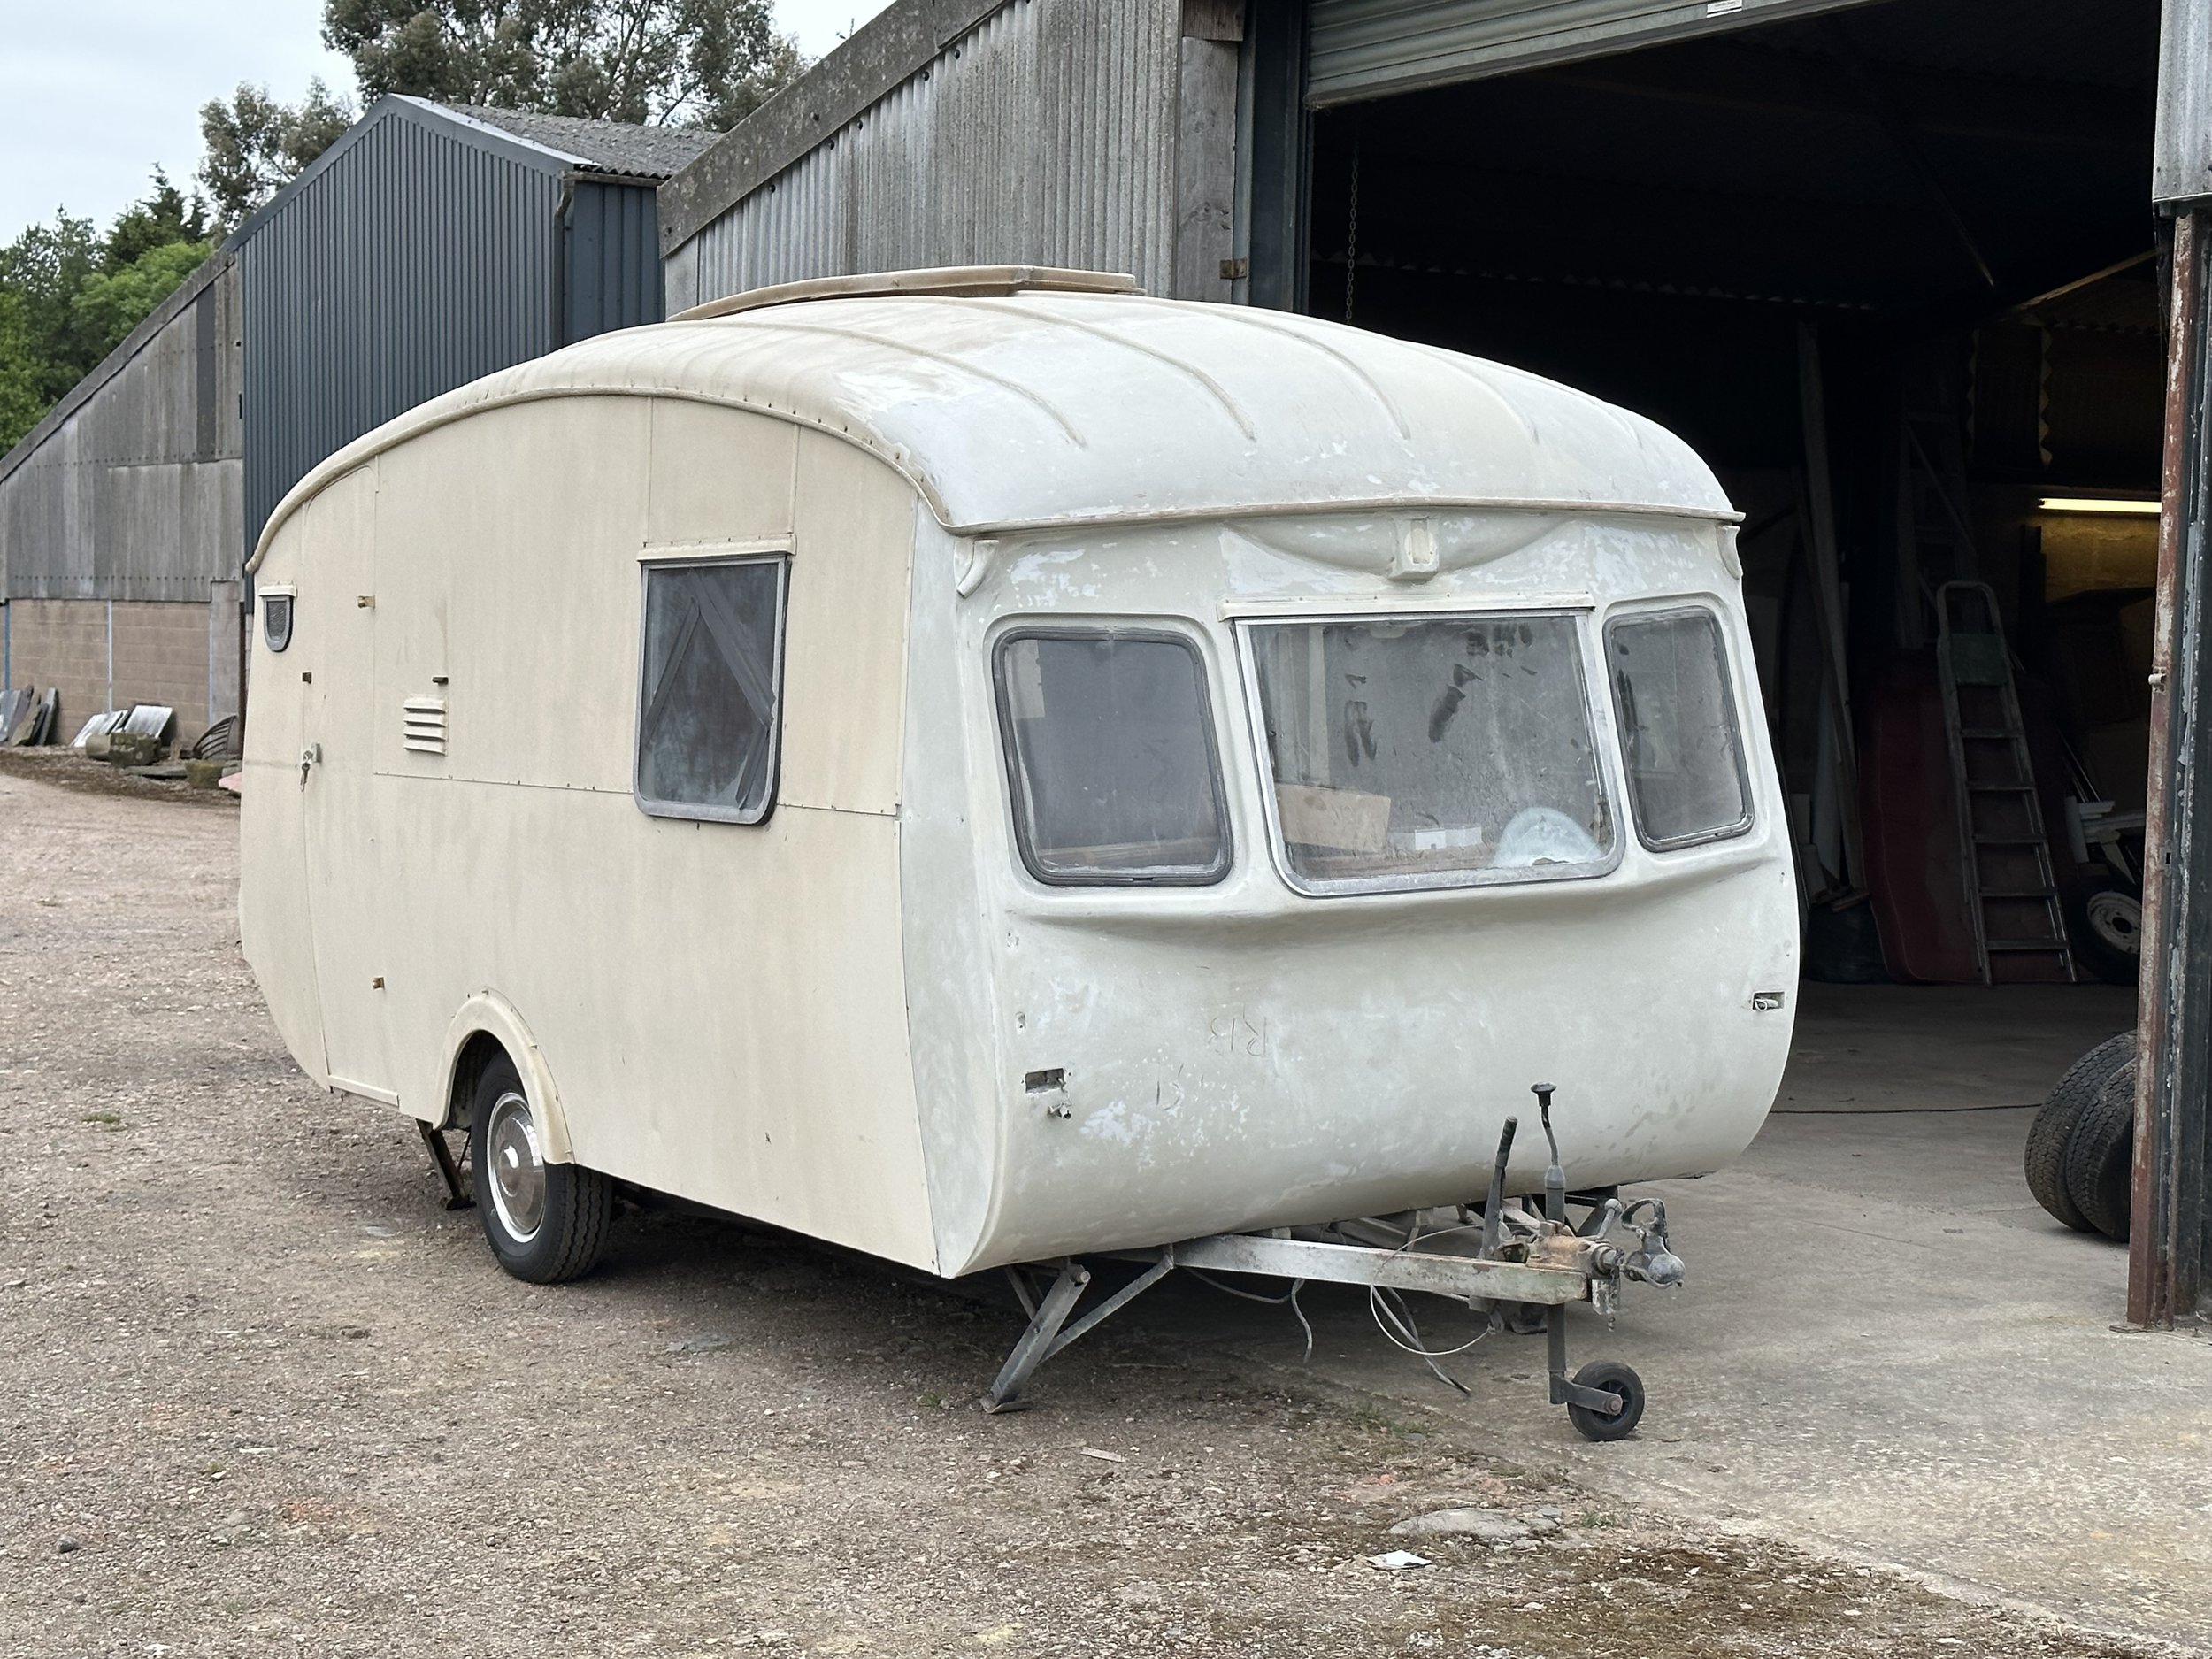
If you read my last blog post about the Cheltenham, you’ll know that I’d managed to find a project with good bones but an awful lot of work ahead to make it into a usable caravan once again. But now I was facing a quandary: Do I try to keep it as original as possible or make it into something that would suit us?
I decided to approach the project with an attitude that satisfied both ideals. We would keep everything that gave this caravan character where we could. The curved wooden furniture, the original gas lamps and electric lights, the adorable fluted glass-fronted china cabinet, the clever front cutest of drawers with bureau style table… but we would update the soft furnishings, flooring and the impractical original kitchen.
I started the project with how I start all my projects - a Pinterest board. I can lose hours just dreaming of all the possibilities and my creative mind just races with ideas. I become a bit all-consumed with planning and calculating how I can achieve my goal.

I started work on the caravan with the chassis and running gear. Although I’d done a pretty thorough check before I towed the caravan home, that was just a roadworthiness check and the chassis would need more in-depth work long term. Luckily for me, the hitch was all free and the brakes worked well. I stripped the hitch down and managed to source a new hydraulic hitch damper via the Cheltenham Owners Club. I also managed to source some brake parts from eBay using the parts reference guide that the Cheltenham Owners Club give to their members. All in all, the £15 annual membership fee had already proved itself invaluable!
Although the interior wall boards were solid, the oak-facing veneer was badly damaged and sun-bleached. The temptation was to re-varnish the boards, but on closer inspection, many had large chunks of the oak facing missing. I loathed to replace them as they were solid. Forgive me while I digress: I hate seeing restorations where people just gut absolutely everything from a caravan for the sake of it. In my experience, newer materials rarely stack up to ones from 60 years ago. There’s also the “green” issue which weighs on my mind. It would seem such a waste to gut this caravan, but I admit that I would have to do something to improve its cosmetic appearance.

The simple answer would be to paint the wood and use various filling products to repair some of the imperfections. But it wasn’t really the look that I was wanting to achieve. Inspiration came from an unlikely place. We visited a dealership that sold Adria caravans, and we fell in love with the Adria Altea range. The walls were covered with a grey felt-like material which looks very contemporary and cosy.

The felt was a stroke of genius. It was easy, quick and cheap to source and fit. It adds hardly any weight to the caravan too. This spring-boarded the interior design choices and helped me narrow my focus on my sprawling Pinterest board.
Another colour scheme was also chosen by accident. During a visit to IKEA, we discovered some heavily discounted thin worktops in the Recycling Hub part of the store. These were mere pounds each, maybe £6 - £8 per worktop piece depending on the size, and they’re finished in a gorgeous sage green colour. I couldn’t buy them fast enough! This inspired me to re-think the kitchen and come up with a way to make it more suitable for cooking.

The original kitchen was definitely the poorest designed element of the Cheltenham. To allow see-through vision when towing (the ability to see right through the caravan in your vehicle’s rear view mirror), the kitchen was lowered to fit under the low-slung rear window. The consequence was a back-breaking low worktop height. The original perspex sink was very badly scratched and stained, so something would have to change.
Inspiration came from a visit to the Cheltenham Owners Club National Rally, where I got to get up close and personal with several Cheltenham models. Of interest to me was a 1969 Puku 4, which is five years newer than mine, and featured a re-designed kitchen to lift the sink to a more sensible working height, just under the offside rear window. It was this design change that I would incorporate into my new kitchen.

I saved all the original cabinetry and managed to integrate the new worktops seamlessly. I began to really enjoy seeing the juxtaposition of the hand-crafted original interior and the very deliberately modern worktops and wall coverings.
With the interior progressing as a rapid pace, it was time to tackle the exterior. Any confidence that I’d built up with the ease of renovating the interior was about to be shattered when it came to tackling the 60 year-old bodywork…