1964 Cheltenham Puku 4 Restoration Part Two

I left my last blog post about the Cheltenham on a bit of a cliffhanger. I apologise, but the internet loves a bit of drama! In truth, it was very dramatic for me at least, as I planned a steady but already very tight six-week countdown to the respray with a friend of mine with a paint shop. The dramatic twist was that he had a cancellation and four weeks into my six-week countdown, and offered to squeeze me in at a slightly reduced cost to keep his workshop busy. Of course, I had to say yes!
What followed was an uncomfortably intense three days of bodywork preparation. I was really glad that for once in my life, I’d actually paced myself well with a project, and the front, rear and removable fibreglass trims were already sanded down. My usual tool of choice for sanding is a random orbital sander with 120-240 grit sandpaper. 120 grit will get the worst of a bad flaky paint job off, or the usual five layers of paint that you often find on a vintage caravan, and the 240 grit is a sensible finishing disc, which leaves a smooth surface ready for paint.
Of course, all of this would go completely out of the window when it came to the complex fibreglass panels on the Cheltenham. I found a small vibrating palm sander with 360 grit sheets on it was about the right tool for the job. A coarser grit would begin to eat away at the delicate fibreglass gel coat. Despite this, the severe complexities of the Cheltenham’s elaborate front and rear mouldings actually called for much sanding by hand. The result was, the front and rear panel alone took about a week to prepare each!
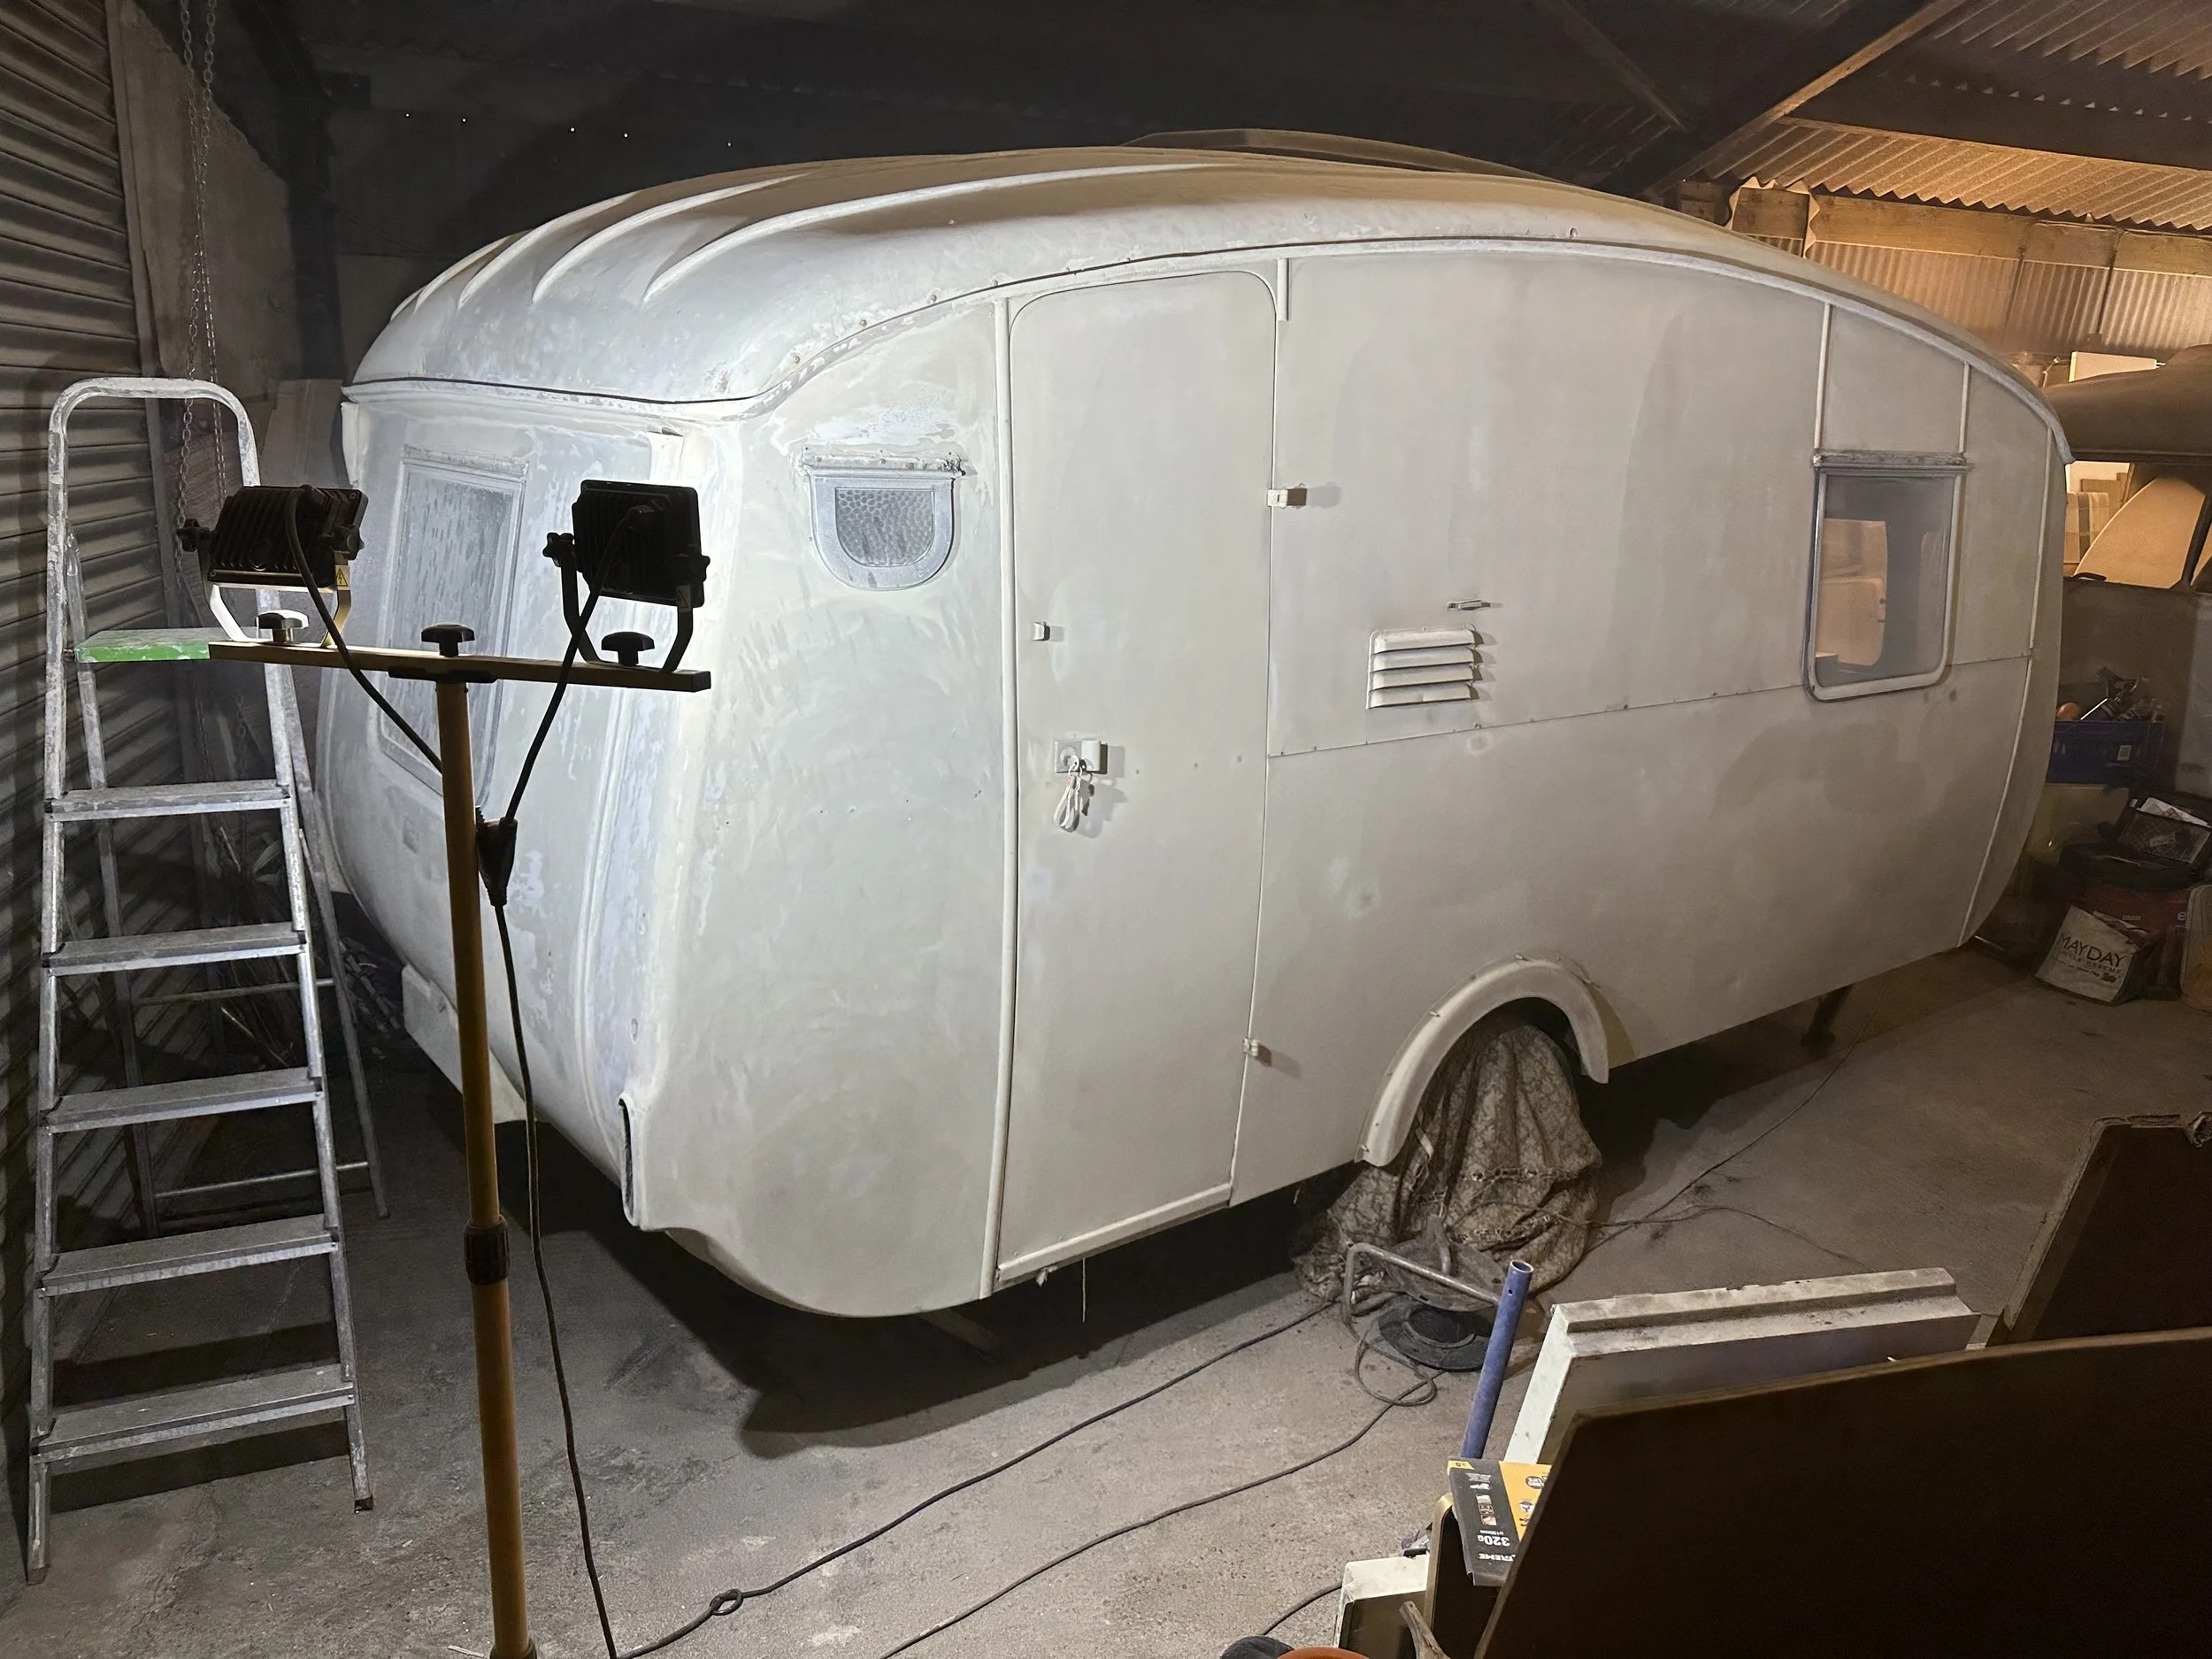
Luckily for me, the side panels are smooth aluminium, so I got those sanded back in one afternoon. But the curvaceous one-piece fibreglass roof was not going to be so kind. The strengthening ribs in the roof panel required sanding by hand, and various small cracks and holes needed filling with epoxy filler. It would need a coat of epoxy primer to prepare the fibreglass for the base coat.

I persevered and eventually made it to the paint shop on time. I was exhausted and covered in paint dust, but when the doors went up on the paint shop to reveal the beautifully shiny Cheltenham, it all felt worthwhile! Now would begin the seemingly never ending job of actually finishing off the caravan…
First up was to re-fit the exterior trims and windows. The side windows were straightforward; I polished the aluminium frames by hand using Autosol aluminium polish and fitted new window seals from Woolies Trim. Everything fell apart when it came to re-fitting the front end fixed windows with their car windscreen style seals. The wood around the windows needed replacing first, which was easy. But the initial seals I bought from a rival supplier to Woolies were of truly abhorrent quality. They ripped to pieces in no time, despite using the correct tools for the job.

By now I was fed up. I was still exhausted from the paint ordeal and I now had a tight two-week deadline to get the Cheltenham ready for its first weekend away at a Retro Camping Club rally. I did something that I very seldom do when restoring a caravan - I called for help. This came in the form of a local windscreen fitter, who not only supplied much higher quality seals but fitted them perfectly. Even as a professional, it still took him a few hours and I’m hugely grateful for his perseverance. I think it goes to show that you can accept your shortcomings and sometimes it’s just better to get a professional in to do a job if you can afford to.
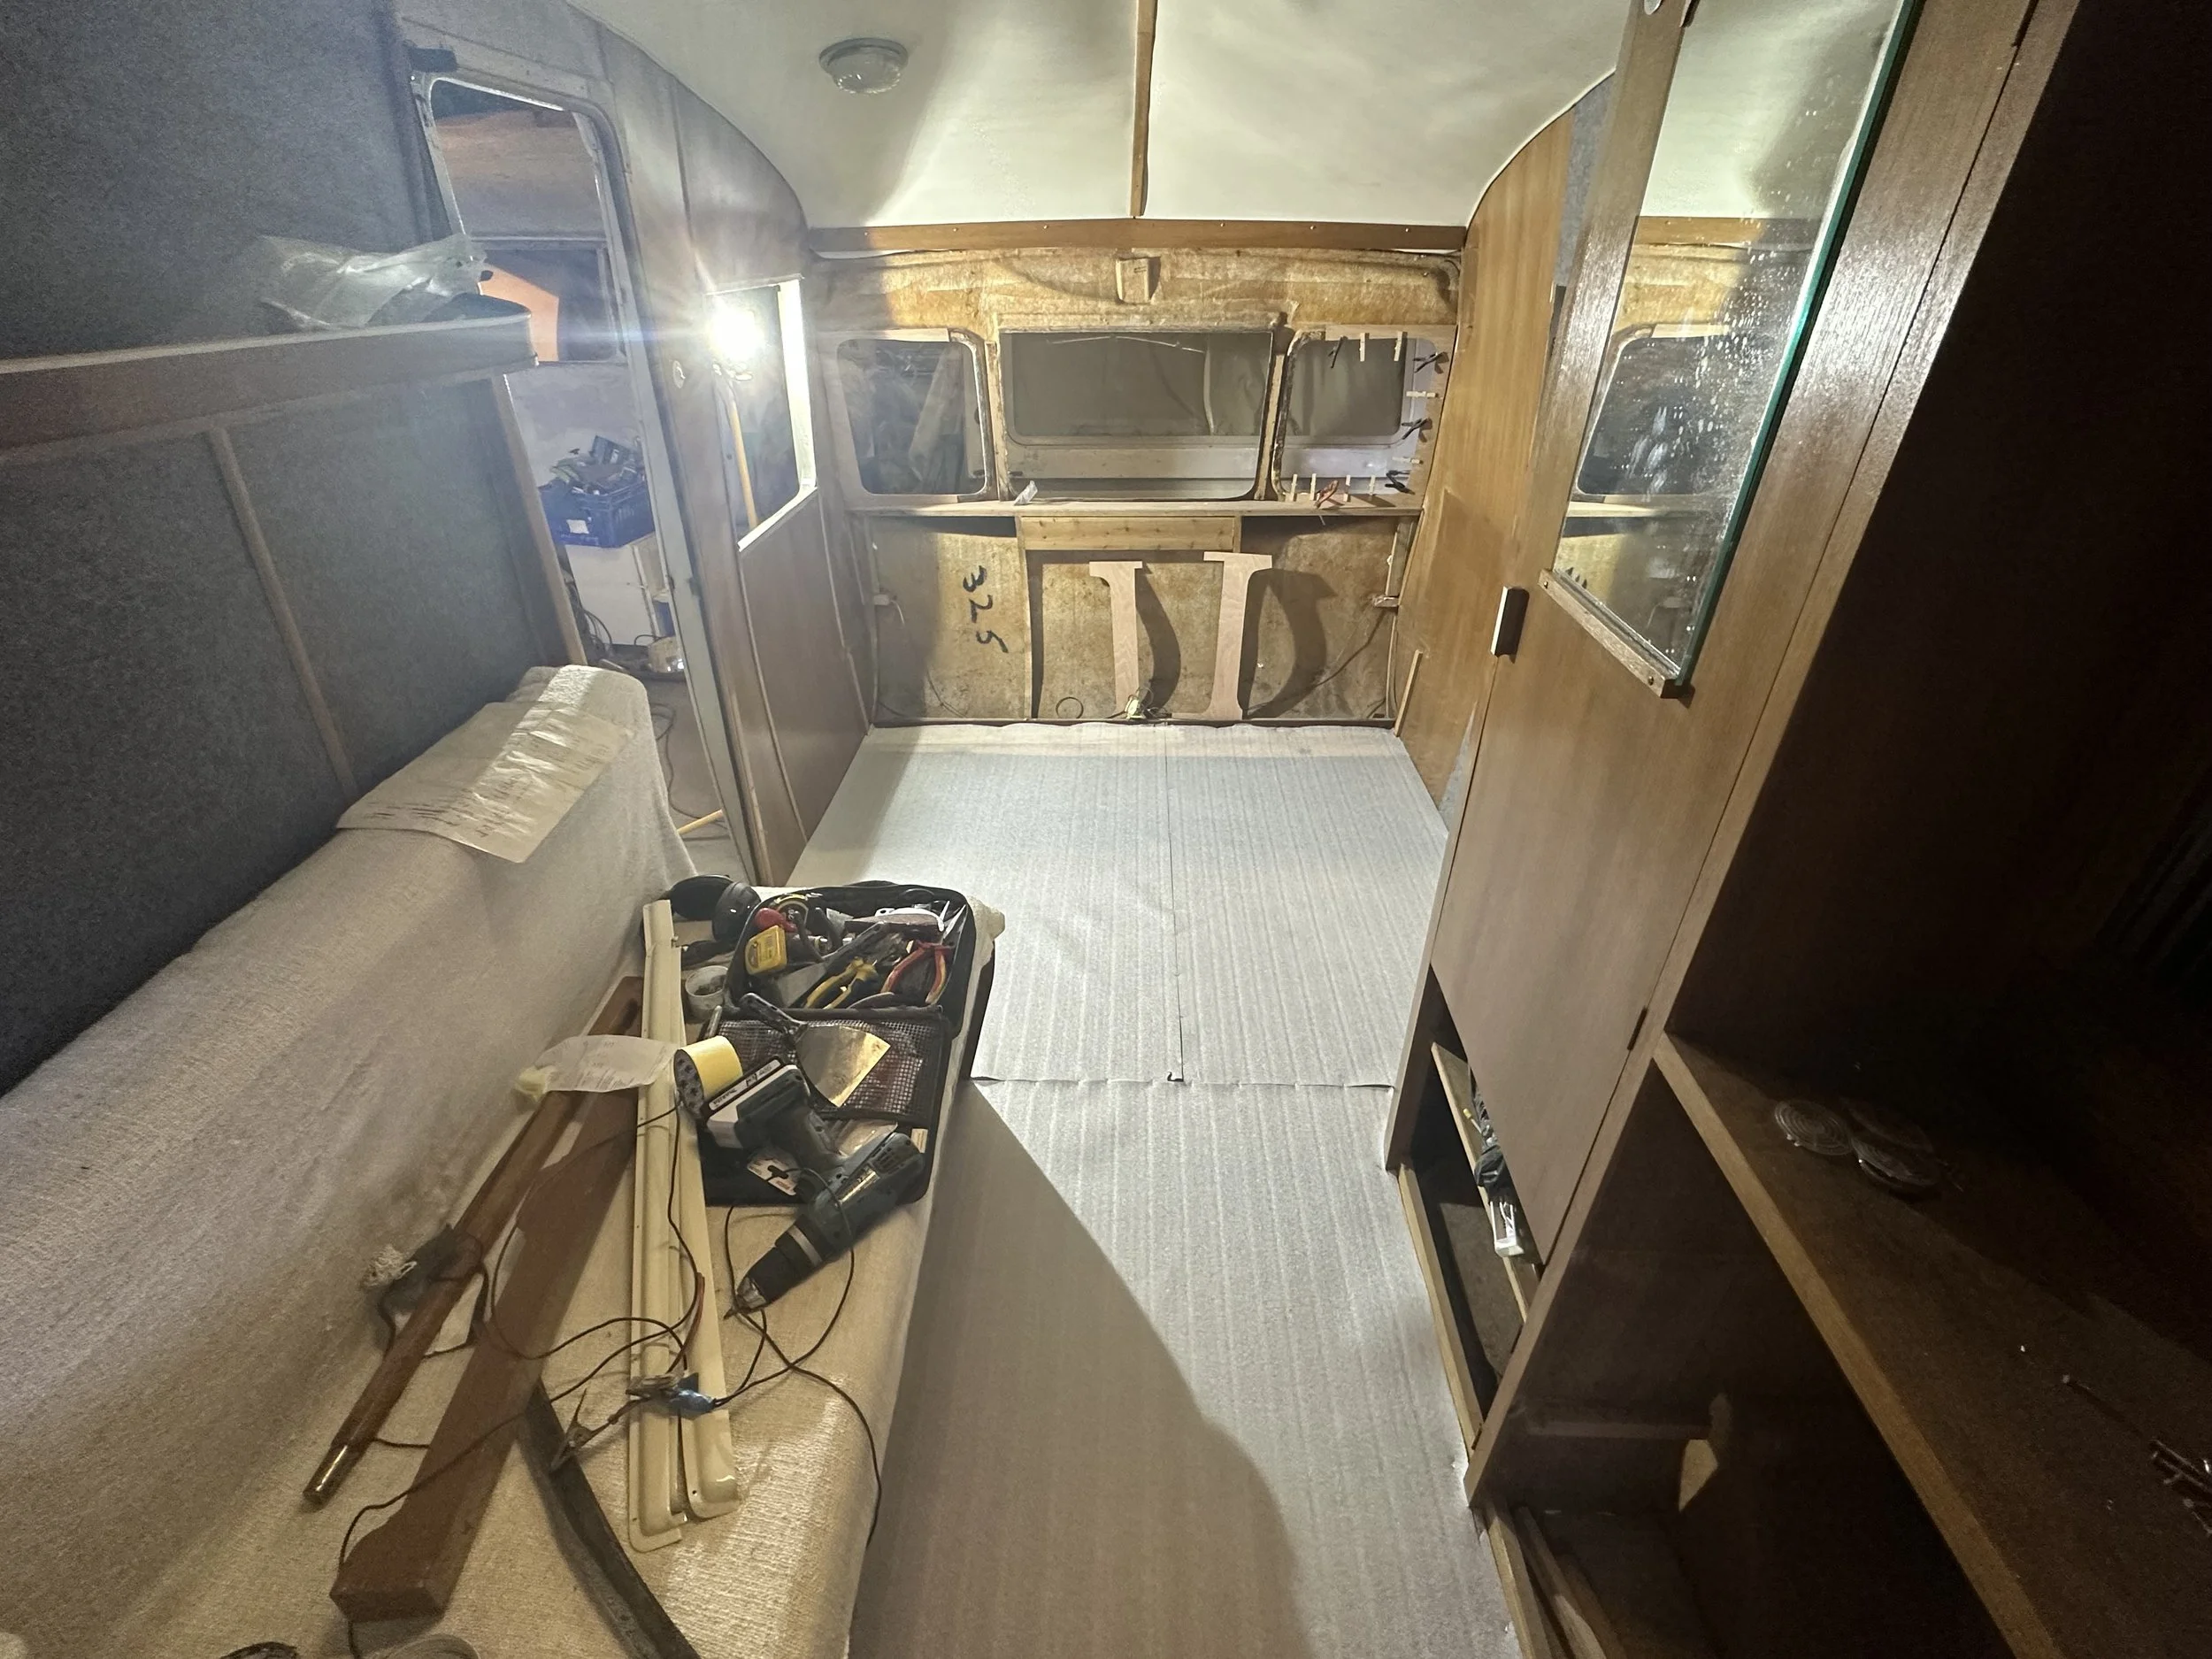
It was surprising to me just how long the interior would take to finish. Every single job seemed to require a work around or additional steps to finish it off. It’s safe to say, the caravan fought me all the way at this stage. Sheer determination was all that got me through it.
I fitted a new vinyl floor covering which I sourced online. Its retro-inspired terrazzo pattern complemented my chosen colour palette in addition to brightening up the interior when combined with the darker original woodwork.
Time consuming interior jobs included fitting an Electrolux fridge from scratch. What appeared to be an easy case of removing a cupboard door to fit, evolved into a lengthy procedure to modify the cabinetry to make it fit. Even then, it went in so snugly against the wheel arch that there was no room for error! At this time, I updated the existing mains electrics and fitted a proper 12v system, which included a mains battery charger, quick-release battery clamps and safety fuses.

As usual, the project came down to the wire when it came to meeting the deadline. From fitting the new water pump to re-fitting the original road lights, everything seemed to fight me and turn into a massive job.
A few things that got me through it was seeing the interior come together. The curtains that I’d sewn were made using some fabric from Habitat, which is so harmonious with the rest of the interior. Another lucky stroke was sourcing an original aluminium window blind set from another Cheltenham caravan. Though incredibly fiddly to fit, I couldn’t deny that they really look the part and give the caravan a really classy boost.
The deadline had arrived. What will be will be. Tune into my next blog post to see the final result.